- Staining Concrete
- Stamped Concrete
- Concrete Overlays
- Concrete Resurfacing
- Concrete Polishing
- Concrete Dyes
- Colored Concrete
- Indoor Concrete
- Concrete Floors
- Concrete Countertops
- Garage Floor Coatings
- Furniture, Sinks, Fire Bowls
- Basement Floors
- Outdoor Concrete
- Concrete Patios
- Concrete Driveways
- Concrete Pool Decks
- Outdoor Kitchens & Counters
- Outdoor Fireplace
- Concrete Walkways
- Concrete Pavers
- Concrete Walls
- Repair & Maintenance
- Foundation Repair
- Concrete Crack Repair
- Concrete Sealers
- Building with Concrete
- Concrete Homes
- Concrete Basements
- Decorative Concrete
- Fire Resistant
Organic Concrete Rock Sculpture Depicts Southwest Landscape in Hawaiian Botanical Garden
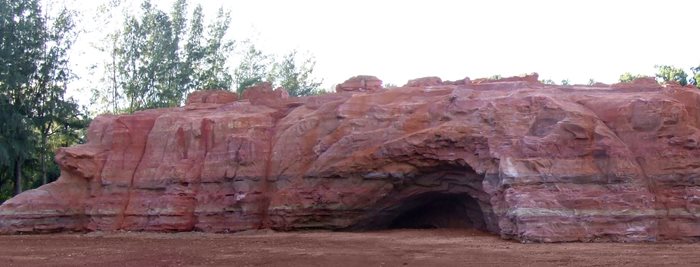
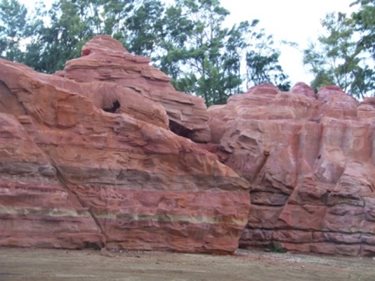
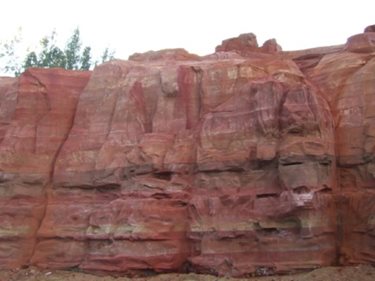
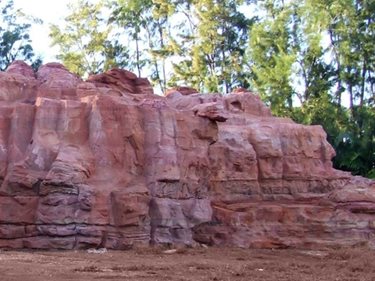
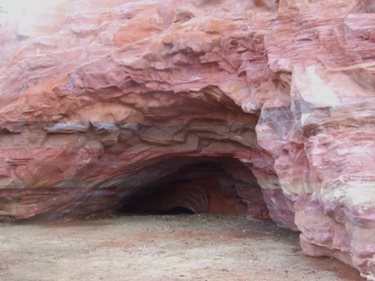
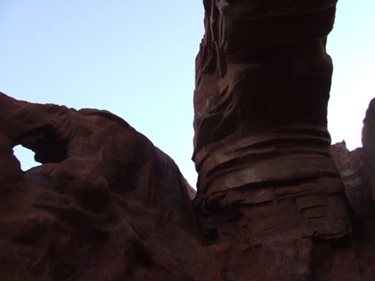
In Hawaii, at Na Aina Kai Botanical Gardens, a Navajo Indian memorial exists with a looming, authentic rock formation as a backdrop. For visitors who can't travel to the mainland to see the real Navajo reservations, this collection of natural rock sculptures and native peoples brings the Southwest to the islands.
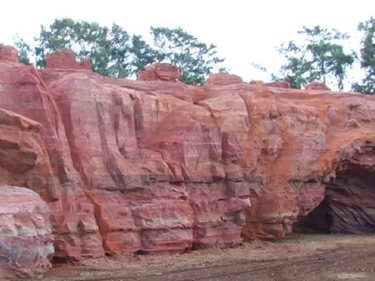
Forest Boone, owner of Museum Rock in Louisville, KY, was the sculptor/artist for this giant rock re-creation. "The CEO of Na Aina Kai Botanical Gardens contacted me after seeing my work on my website," explains Boone who specializes in sandstone and sedimentary type rock formations. "They wanted an escarpment where two cliff faces split apart and create a canyon. They also wanted a dead end canyon and cave incorporated."
Boone drew two sketches with ideas for the rock. Once approved, he then built a 5-foot scale model out of wax that he sculpted by hand. "They approved the 5-foot model, so then I enlarged it and built a 13-foot long wax sculpture." The larger model was necessary in order to preserve detail of the rock face as it was enlarged into a mold.
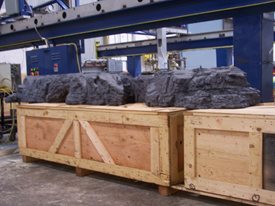
The x, y, and z axis of the larger model was then scanned, and by way of a 3-D digitizing process the 13-foot model was digitally enlarged to its final 136-foot dimension. Using computer technology, the newly enlarged 3-D images were then turned inside-out, like a glove, to depict all of the negative space (or air space) around the entire rock formation, which was then milled out of 2 pound density E.P.S. styrofoam by a CNC milling machine to create the beginning of the mold. Then Boone, an assistant, and a team of laborers sanded off all of the residual tooling marks on every square inch of the foam parts, then went back in and hand-sculpted the first 2 inches or so of textured rock surface on all the milled foam. Next, each individual part had to be coated with a two-part liquid rubber to ensure a proper release from the soon-to-be-cast concrete. There were a total of 57 sections of the mold, many of which were as large a 19' x 4' x 40".
The mold was set up on-site and colored concrete was pumped in. "We poured a lift at a time between 8-16 inches," says Boone. "We let it set long enough so we could walk on it, then we poured another 8-16 inches. We did 2 pours each day over a period of months." Epoxy coated rebar and stainless steel were embedded along the way for reinforcement. "We use epoxy coated rebar versus using regular rebar which can rust and fail," explains Boone.
At each lift, colored powder pigments were added in. "We used over 17,000 pounds of dry powder pigment to intrinsically color the mix, using a combination of oranges, reds, and browns," recalls Boone, "to get the layered look in the rock, just like what you would see in the sandstone at the Grand Canyon. Part of the reason for two pours each day was because we would change colors at each lift."
The rock structure stands over 20 feet tall at the stone arch bridge, and required a number or barges of silica sand to be imported from Southeast Asia. "The volcanic sand found on the shores of the Hawaiian Islands is not the color and texture of Sandstone, so I felt this was necessary to do it right" Boone explains.
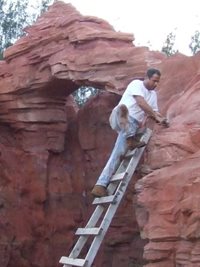
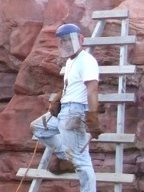
Once it was de-molded, the structure resembled a flat-topped rock, so Boone began to add varying dimensions of rock along the top. "We used steel to create boulders, peaks and valleys along top to make it look realistic," he says. The final step was to add the look of weathering and aging. "In addition to the integral colors, we were trying to mimic the aging process to give the rock a more authentic look," says Boone. "I applied patina using acids to create the look of rain weathering. I also had to duplicate geomorphic shifts so I used a diamond blade on an angle grinder to simulate large chips on the surface and also to deepen the cracks, nooks, and crannies. For the finishing touch, I applied light color washes to highlight the peaks and darks for the valleys and interior of the cave."
Submit Your Own Project Photos
Read More About Concrete Statuary
Return to Concrete Statuary and Sculpture Projects
