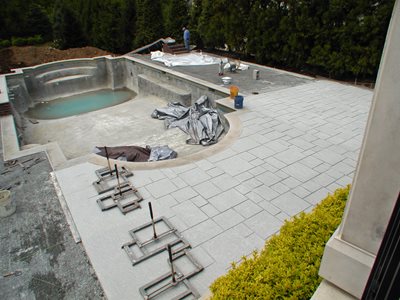
The owners of this Livingston, New Jersey property were in search of something different for their terraced backyard. Unique Concrete, a company that sets themselves apart from other decorative contractors with an exclusive process, recently helped them complete the final phase of decorative concrete work around their pool deck. According to Todd Fisher, the company poured and finished more than 6,000 square feet of decorative concrete in three phases over the course of four years. Portions of the project were completed while the home was still under construction, while other parts were completed later.
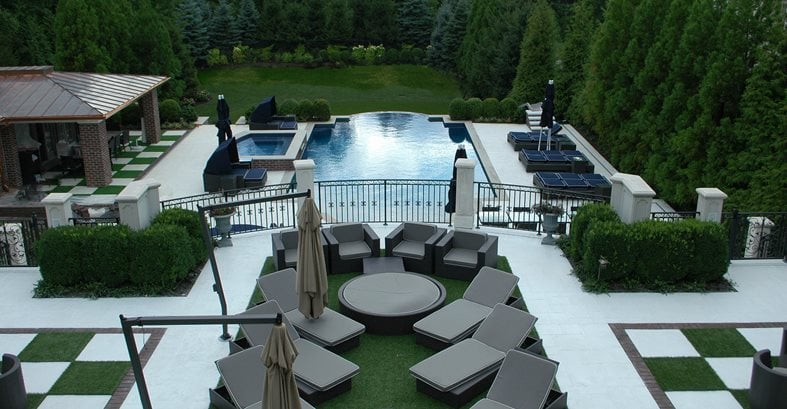
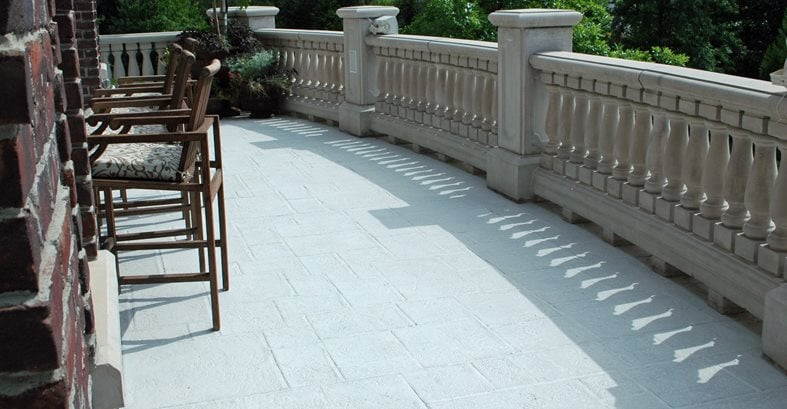
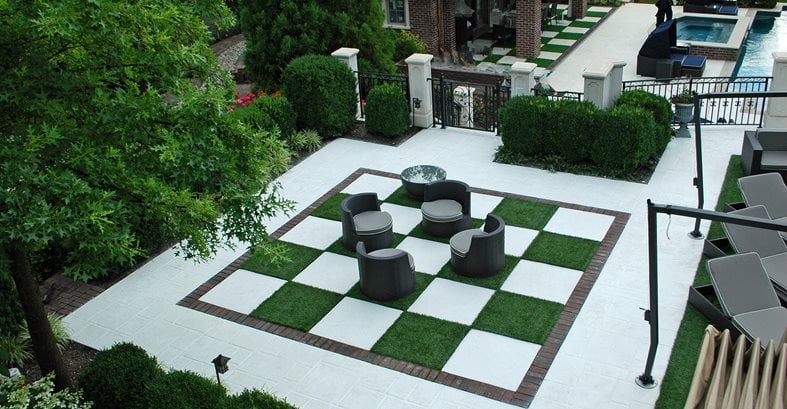
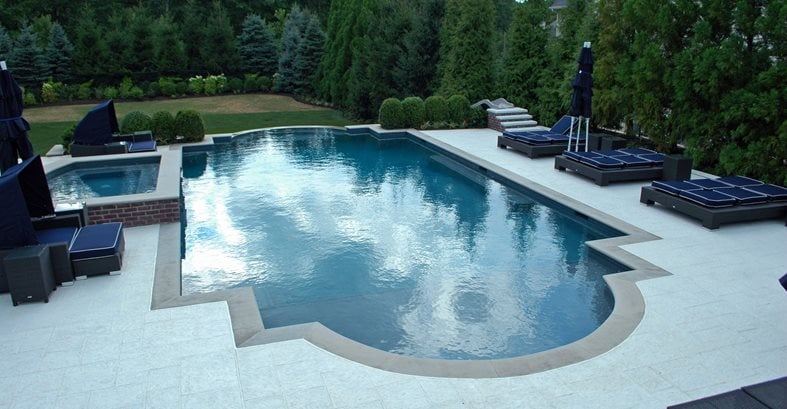
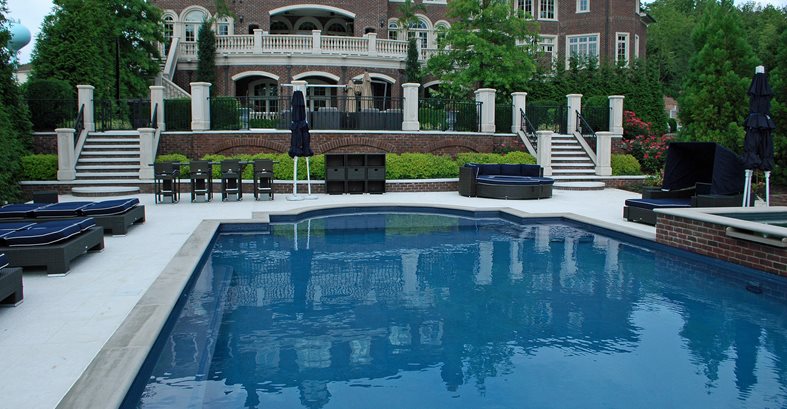
The upper level of the yard nearest the home consists of a balcony with radiant heating, the middle level serves as a lounging space and has a distinct checkerboard pattern, while the third level down features a swimming pool with a 2,500 square foot deck and a pool house.
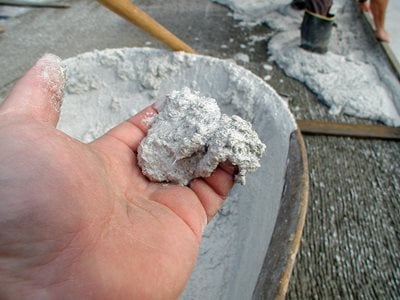
The decorative concrete paving was poured with Unique’s proprietary two-layer process. “First we pour a structural slab that is scarified and followed by a topping that is stamped, colored and grouted,” explains Fisher. He compares the process to laying stonework, only they are creating the stones from concrete right in place. “We like to call our product handcrafted stone decking,” he says.
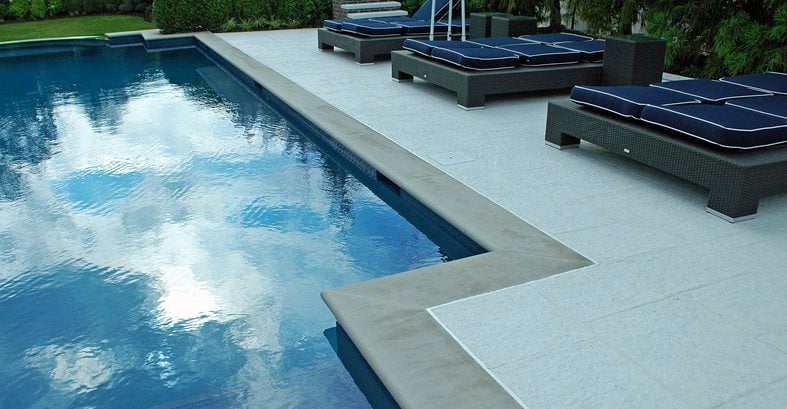
For this project, a white-on-white color scheme was selected for a distinctive look and for its coolness factor. “The white concrete is comfortable to walk on even on a warm summer afternoon,” Fisher says. A textured surface also helps with the comfort level and visual interest. When Unique took temperature readings the concrete pool deck was 20 degrees cooler than the adjacent limestone coping. For budget reasons, the upper two levels were poured with an uncolored concrete mix and stained with a solid white stain, while the pool deck was poured with a white Portland mix with titanium dioxide. “Since the pool deck mix itself was white, we did not rely on stains to achieve the coloring.” After the topping was poured and stamped, the joints were filled with a white grout, creating the white-on-white effect.
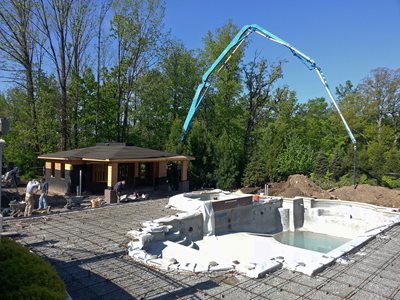
Various challenges arose throughout the project on each level. For the upper balcony, Unique’s crews had to deal with access difficulties as well as ongoing construction on the rest of the property. On the checkerboard level detailed formwork was required. “Getting the corners to matchup was important for the end result since the pattern would be a focal point when viewed from above,” he recalls. Additionally, steel pilings were needed beneath each individual square to prevent uneven settling which was a concern becasue the concrete was poured on fill dirt. For the pool deck, the challenge was to stabilize the deck properly since this area was also poured entirely on fill dirt. “In order to prevent settlement of our handcrafted stone decking, we designed and placed footings in strategic places under the entire deck area before pouring the structural slab,” says Fisher.
Unique Concrete’s exclusive layered and grouted process was a success for this property. The white-on-white concrete contrasts nicely with the home’s brick and the surrounding greenery. It also helps keep the pool and lounge areas cool during the summer. Furthermore, it offers the look of realistic custom masonry or pavers without the intensive labor or chance of settling and the expansion joints are completely hidden within the grouted pattern. These homeowners got exactly what they wanted, a one-of-a kind surface to complete their backyard entertaining space.
Concrete contractor
Unique Concrete, West Milford, N.J.
Submit your own project photos
See more modern concrete patios
See more stamped concrete pool decks
