- Concrete Molds Home
- Countertop Molds
- Sink Molds
- Stamp & Texturing Tools
- Edge Molds
- Tips for Making and Using Concrete Molds
- Making molds from rubber
- Related Information:
- Concrete countertop forming videos
Concrete Sink Molds - What They Are & How To Use Them
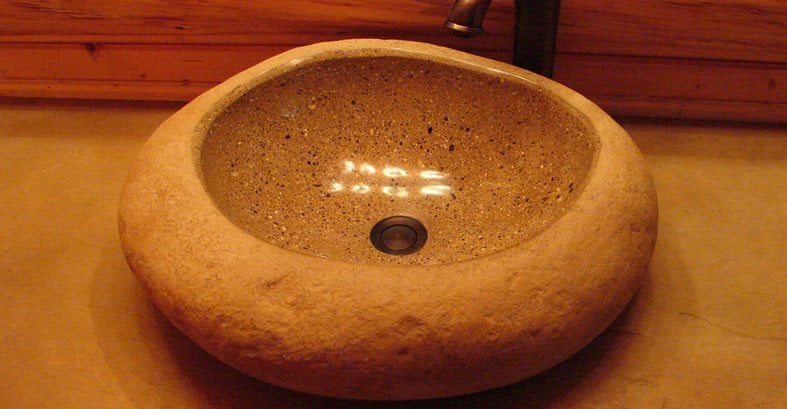
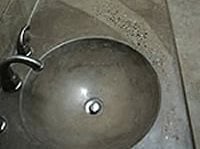
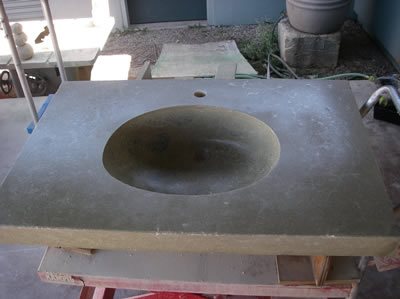
Prefab sink molds are a great way to create custom concrete sinks for bathrooms and kitchensA convenient way to form a sink is to buy a mold. "What it does is fast-forward the contractor past the tedious stuff to where he can display his artistic abilities," said Mike Eastergard with PreiTech, a custom mold maker. Standard molds are available from a number of concrete mold manufacturers.
Find local concrete countertop contractors who can help you create a custom sink.
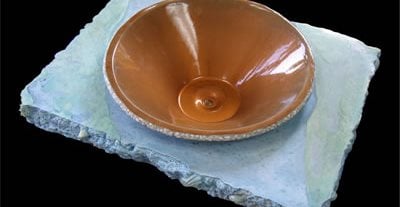
Each of these companies has several different models from trendy styles like a wave sink to more conventional ovals. Some also have molds to make vessel sinks (see Bathroom Products Design Catalog).
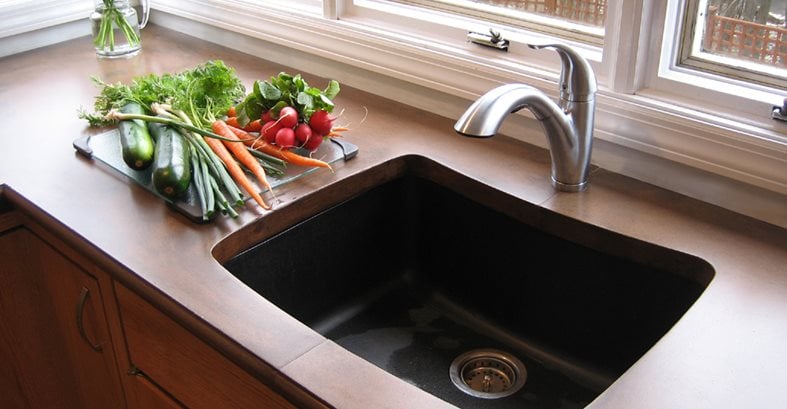
The other option is to simply use a knockout mold to create an opening for a stainless steel or porcelain sink. Most countertop experts shy away from integral concrete sinks as a primary kitchen sink. "I think that integral sinks are ideal for bathrooms and not as ideal for your kitchen sink where you have food and pots and pans," said Susan Andrews at Buddy Rhodes Design. "Concrete stains more easily than stainless and it can chip."
Undermount sinks are typically the best match with a concrete countertop. You can make your own knockout or go to ConcreteCountertopSolutions.com, which has rubber knockout forms for faucets and drains. They also offer mold rubber for creating your own knockouts.
The other advantage of manufactured molds is that they are durable enough for many uses. Most of these sink molds are made of fiberglass which is virtually indestructible. Buddy Rhodes has molds in his shop that have been used over 100 times.
Prices for fiberglass sink molds are in the range of $500 each—a little more or less depending on the complexity. CreteMold's reusable fiberglass molds sell for an average of just over $200 each.
 Slot Drain Ramp Sink Mold
72" with internal reinforcement
 Rectangle Sink Mold
Internally reinforced. Ships in 2 to 3 business days.
 Mold Making Kit
Create custom rubber molds for concrete casting
How to Use a Mold to Create a Custom Sink
Once you have your mold, how do you turn that into an integral sink in your countertop? First fasten it into position in your countertop mold. Buddy Rhodes' molds have plywood inset into the top of the sink mold. The mold is then placed onto the melamine and attached with screws from below. "You have to remember to back out those screws before you flip the counter over," said Rhodes. "The sink mold comes off with the countertop then we pull the sink mold out. Otherwise you would be putting forces on the sink that you probably don't want."
There are three basic ways to cast the concrete for the sink:
- Use very stiff concrete and simply hand apply it to the mold-this is the Buddy Rhodes hand-pressed method. You then come back and fill the honeycombing with the same or a contrasting color.
- Use concrete that is somewhat flowable but that can still be built up over the sink mold.
- Use a double mold (both inside and outside faces of the sink) and pour concrete inside and vibrate to get a smooth finish.
With the Buddy Rhodes method, the concrete is applied in two layers, each ¾ to 1 inch thick. Between layers, he places the reinforcement and the overflow. Rhodes has devised a clever but simple technique for incorporating an overflow into a concrete sink. "Take a piece of half-inch foam and cut a strip 1 inch wide to go from the top of the sink where the overflow hole would be to the drain," he says. "We pack the concrete around the mold then place the foam so it will be in the middle of the sink wall. Then the next day we take a 3/8 inch drill bit and drill through the concrete and into the foam to create the overflow hole. Then we take a funnel and pour lacquer thinner into the hole and it melts the foam out. Once the lacquer thinner flows out the bottom you know that the void is empty."
To use the double mold method, Karmody uses a sink mold and what he calls a top hat-essentially a bottom mold for the sink. "It's a collar that goes over the sink area and spreads out a few feet in each direction to makes sure the hydraulic head pressure does not push the concrete through. We place the concrete and vibrate normally and by the time any concrete reaches the end of that top hat it takes so much pressure that very little escapes."
